Hey everyone! It’s been a while since I’ve posted. I’ve been quite busy these past few weeks. Between birthdays and events I haven’t had much of an opportunity to write a post.
For this post I want to share an interesting project that I’ve recently done, which ties into another project that I did around Christmas time. I’ll talk about the one from Christmas first, then I’ll talk about the most recent one afterwards.
Growing up, I would watch cartoons/anime/series like Gundam. The Gundam series itself is about various fictional political events set in a world where technology has progressed to the point where humans are inhabiting space. Seeing all the beautiful designs of robots in the series, a.k.a Gundams, I’ve always wanted to build a model. Luckily, they sell kits that allow you to build these amazing robots. The kits appear to be overwhelming at first, but after you get the hang of process and have the proper tools, it moves along quite quickly.
The first thing to talk about is that there are different grades of models. The differences between the models include the size of the models, as well as the level of detail and complexity required throughout the building process.
The various grades are:
- Entry Grade
- High Grade
- Real Grade
- Master Grade
- Perfect Grade
This list is sorted based on the level of complexity and detail, from least complex to most complex. There are also other grades that aren’t as difficult to build, but are more comical in nature such as the SD Gundam. They have over sized heads and are generally cheaper compared to the other kits.
The first Gundam I built, I received as a Christmas gift. Little did I know the punishment that I would endure during the building process.
The Gundam model is Gundam Barbatos, from the Iron Blooded Orphans series. The series itself was released in 2015, and I enjoyed watching it as it has similar elements to the previous series’ which touch upon military and political themes.
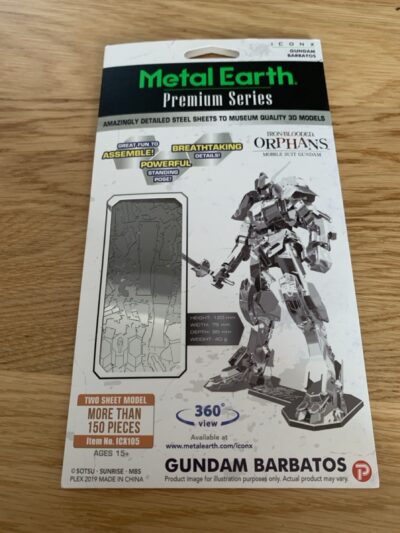
The most difficult part of building this model was that it was from the Metal Earth Premium series. It’s on the smaller side, but don’t let that fool you, it took a lot of effort to put together. It took several days of me getting the hang of how to put it together. In that process I learned how to persevere through difficulties and try coming up with solutions to problems that I encountered.
The model although being small was extremely intricate, and the method through which the pieces fit together was comprised of delicate pieces of metal that you’re expected to insert through a slot and either twist or fold.
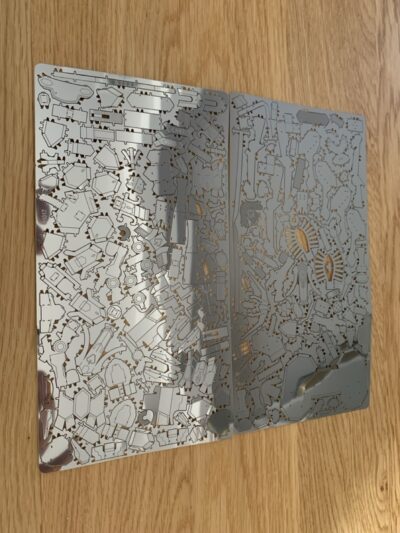
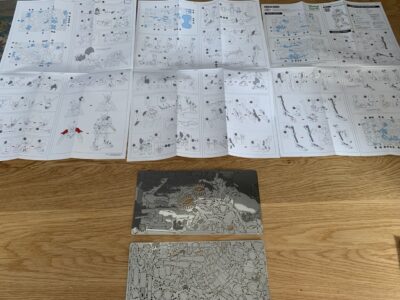
The biggest danger is that you either twist too much, or have to rework a piece causing the piece itself to break apart.
Another danger is that certain pieces are held together by a few strands of metal which you’re expected to fold to form into the proper shape. The difficult part is if you were to fold it in the wrong direction the piece breaks off. I ended up figuring out a way to put certain portions together by using double sided tape. I also tried soldering a piece, but it was a failure as solder doesn’t stick to the model.
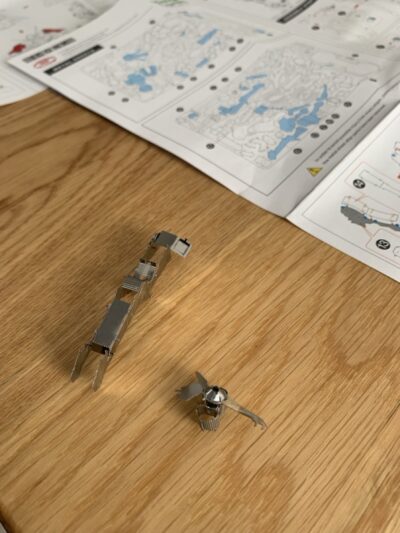
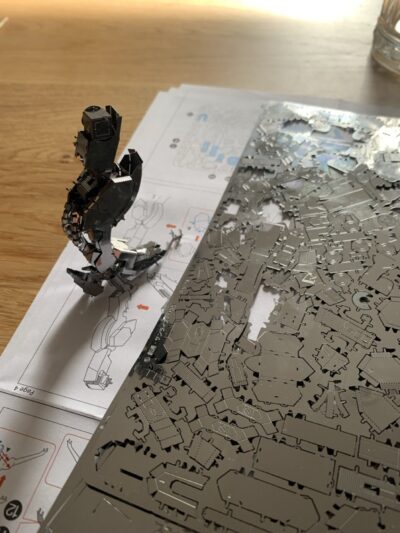
Ultimately everything came together quite well. Although it did have some issues with it’s hip joint, I supported the leg by inserting a toothpick for added support. There was also the issue with the head piece/crown being very delicate and snapping in half. Thats where I used the double sided tape to hold it together in such a way that it isn’t visible.
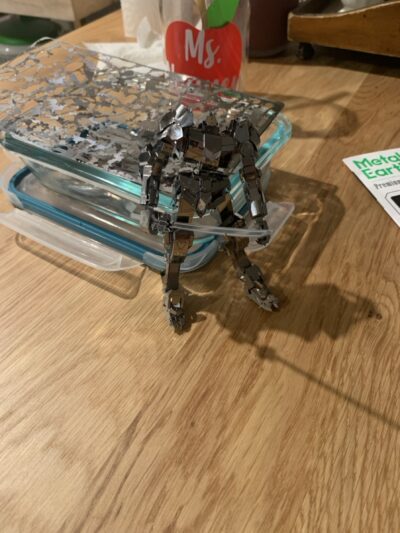
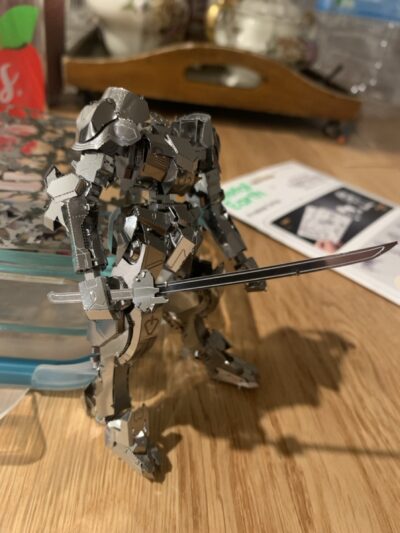
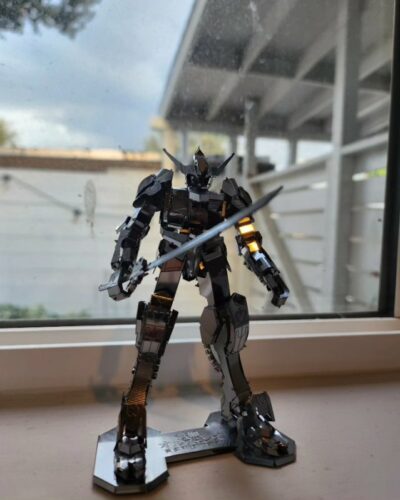
Here’s the finished product!
After I was finished building it I noticed during one of my shopping trips that a store has a little box that’s meant to house models such as this.
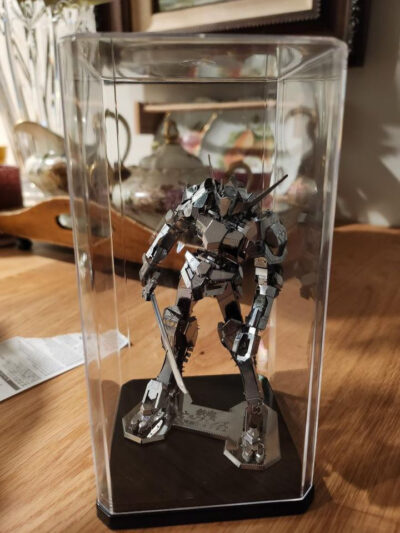
Now for the most recent build!
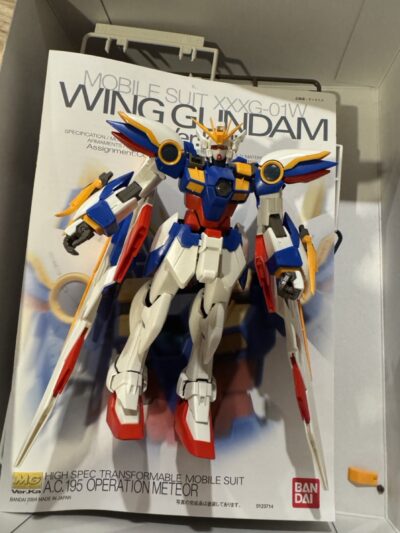
For this build, it was a Master Grade Gundam from the series that I grew up watching which was Gundam Wing. This is a “Ver.Ka” version of the Gundam, which apparently stand for Hajime Katoki, who worked on the Gundam designs of the among other things.
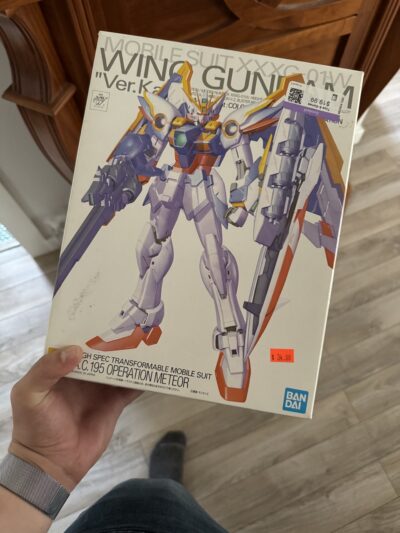
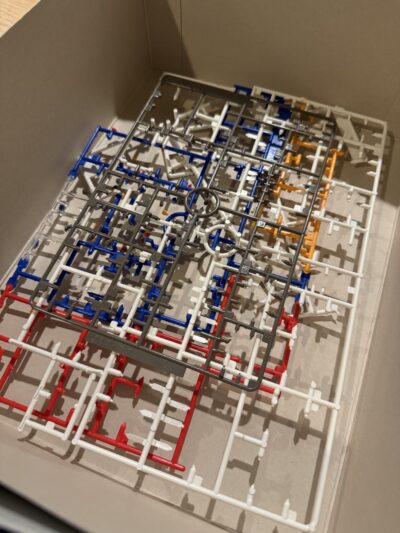
A person before me tried to put it together, it looked as though they didn’t really understand how you’re supposed to put the model together, or how the pieces are meant to be extracted from the plastic sheet that holds them together. By my observations, it appears as though they weren’t cutting the pieces out directly from the thinest portions. They were cutting the pieces out and then cutting again which is infinitely more time consuming. There’s also the question of what tool they were using… I have these little clippers that I believe are used to clip nails accurately? You could probably find them near the beauty section of a grocery store, near the nails and make up section. They look like little pliers with a pointy nose/tip, they’re extremely sharp.
Here is a picture of what the person was doing:
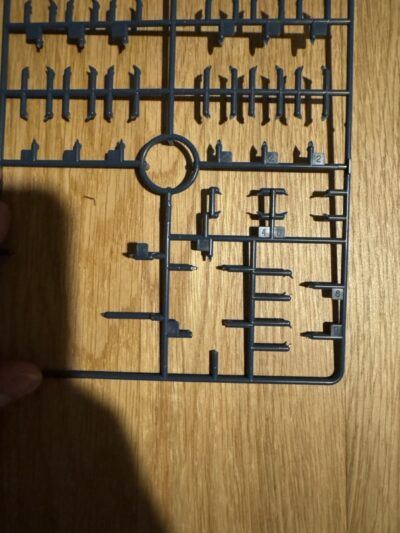
Can you spot the mistake?
(It’s bottom center of the sheet. Pay attention to what the other nubs look like compared to portion there. You’ll notice that the other pieces are pointy because I cut them at the attached point of the piece.)
This is what the person had built up to the point that they gave up:
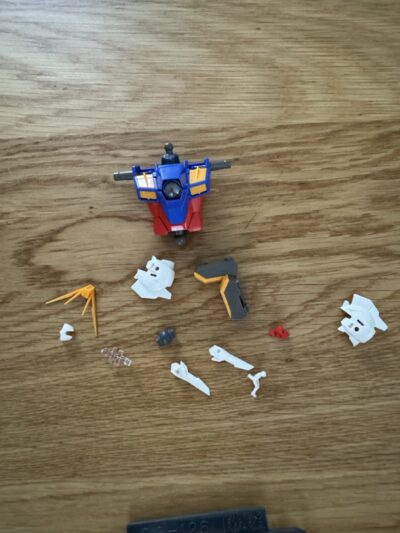
Luckily 99.8% of the pieces were still intact. I believe that it was only missing a portion of the shoulder piece which housed a gun. They probably lost it haha.
Here are the pictures from the process:
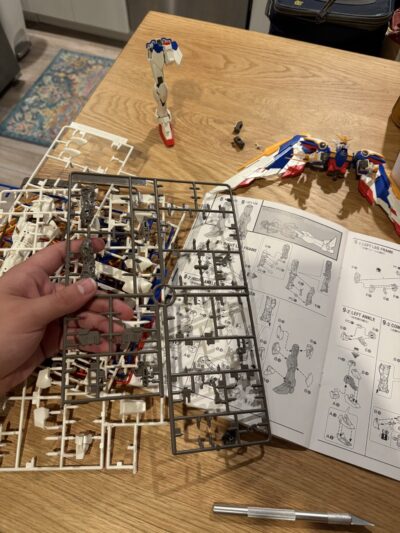
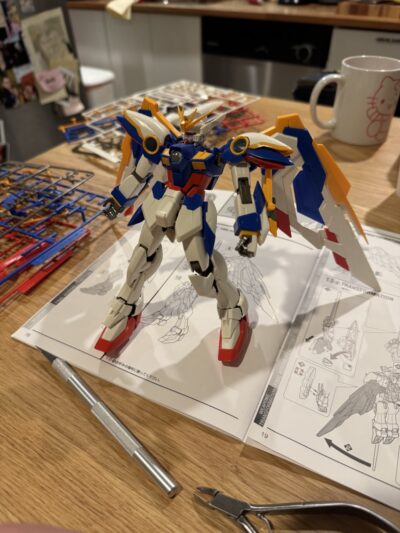
Oh hey look! It’s the little clipper that I was talking about earlier!
Pile of scrap
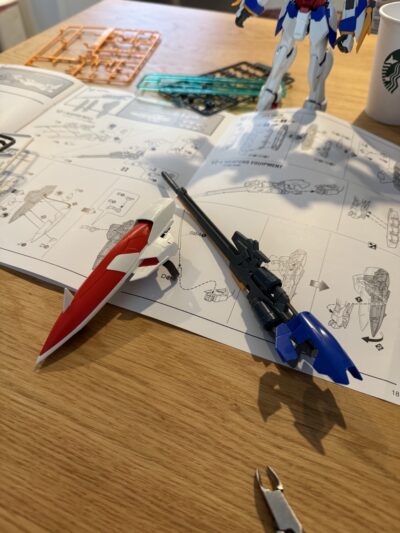
The shield and rifle 😁
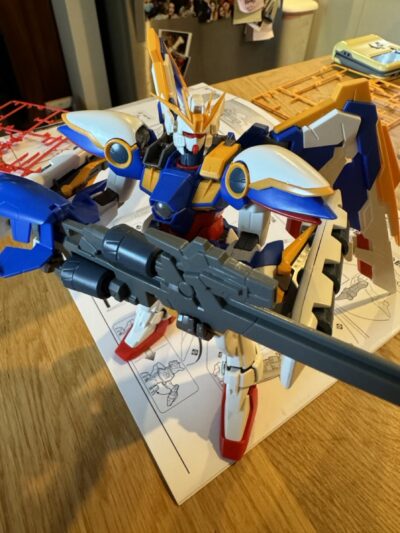
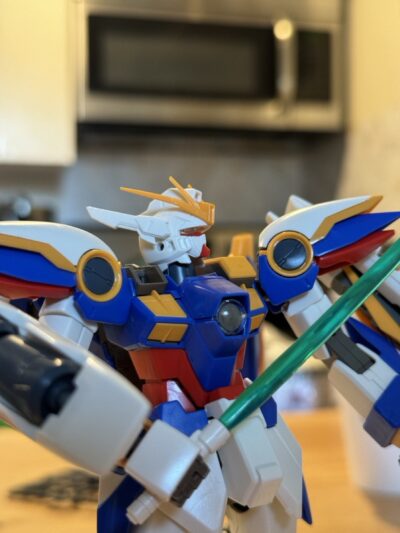
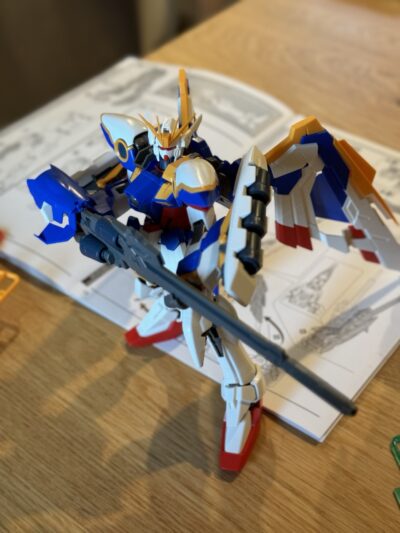
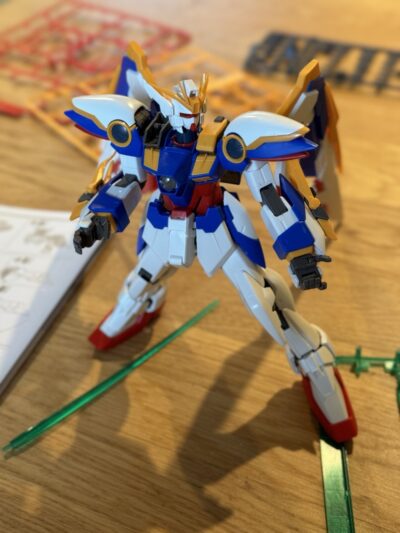
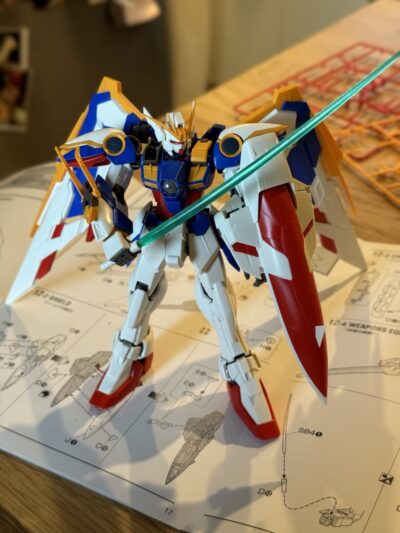
Another cool thing about this model is that it’s capable of transforming into a plane version of itself.
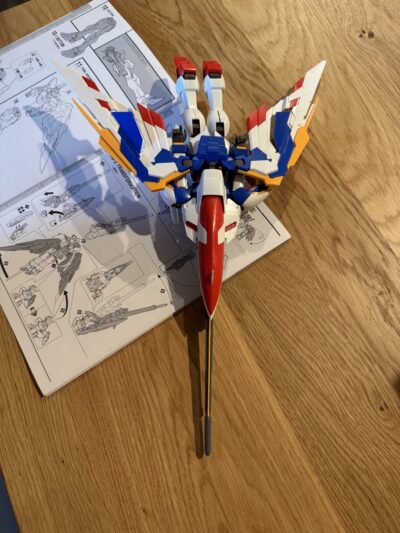
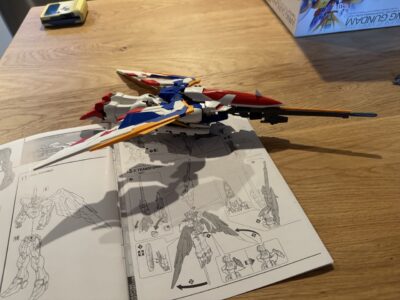
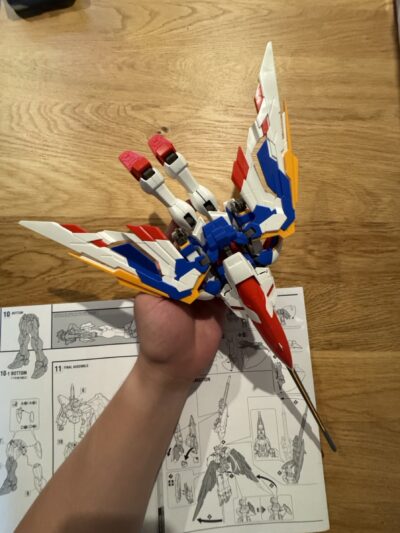
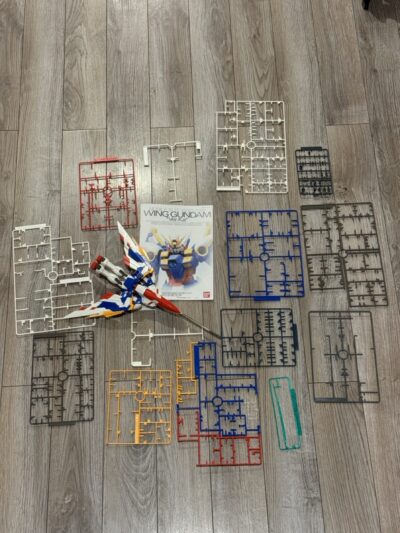
Finally here’s a picture of the finished model as well as all the sheets of pieces that were taken apart to create it.
Well that’s about it, hope you enjoyed the post as much as I enjoyed building the models. Building the plastic version of the model is a lot more enjoyable as there’s a much lower chance of a piece snapping compared to the Metal Earth version. My only mistake on this model was thinking that the plastic was durable so I tried to use a lighter to smooth a portion of plastic out only to have it instantly deform due to the heat. So stick to either a razor blade, or a high grit sand paper to file down the portion of the part that was attached to the rest of the parts sheet.
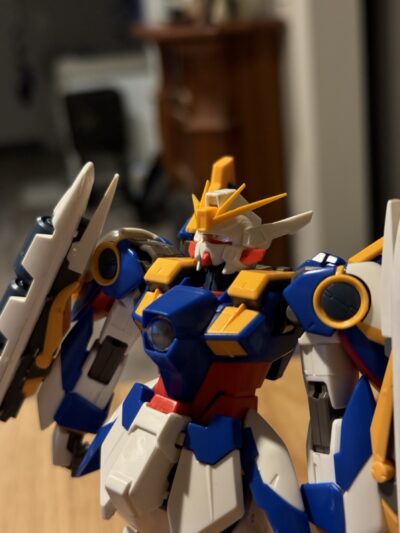
To end the post, here’s my favorite picture:
Thanks for reading!

